Garbage Disposal Problems You Can Safely Check First
A plain-English plumber's guide to garbage disposal problems you can safely check: humming, jams, leaks, smells, what to try first, and when to call a pro.
Articles on this site may include sponsored content. If they do, it's labeled clearly — and it still has to answer a real homeowner question. Same bar as everything else here.
Garbage Disposal Problems You Can Safely Check
Let’s get this out of the way first: never put your hand inside a garbage disposal. Not while it’s running. Not while it’s off. Not even “just to check.” A disposal that looks dead can still kick on if the switch gets bumped or a stuck flywheel breaks loose. The spinning disk is sharp enough to do damage with just the momentum of you yanking your hand out.
Everything here is safe to do with your hands above the drain opening. The only tool that goes inside is a 1/4-inch hex key (Allen wrench) or a pair of long tongs. Period.
This guide covers the most common garbage disposal problems you can safely check yourself: humming, jamming, not turning on, leaking, smells, and slow draining. For each one I’ll tell you what to look for, what to try, and where the line is between DIY and calling a plumber.
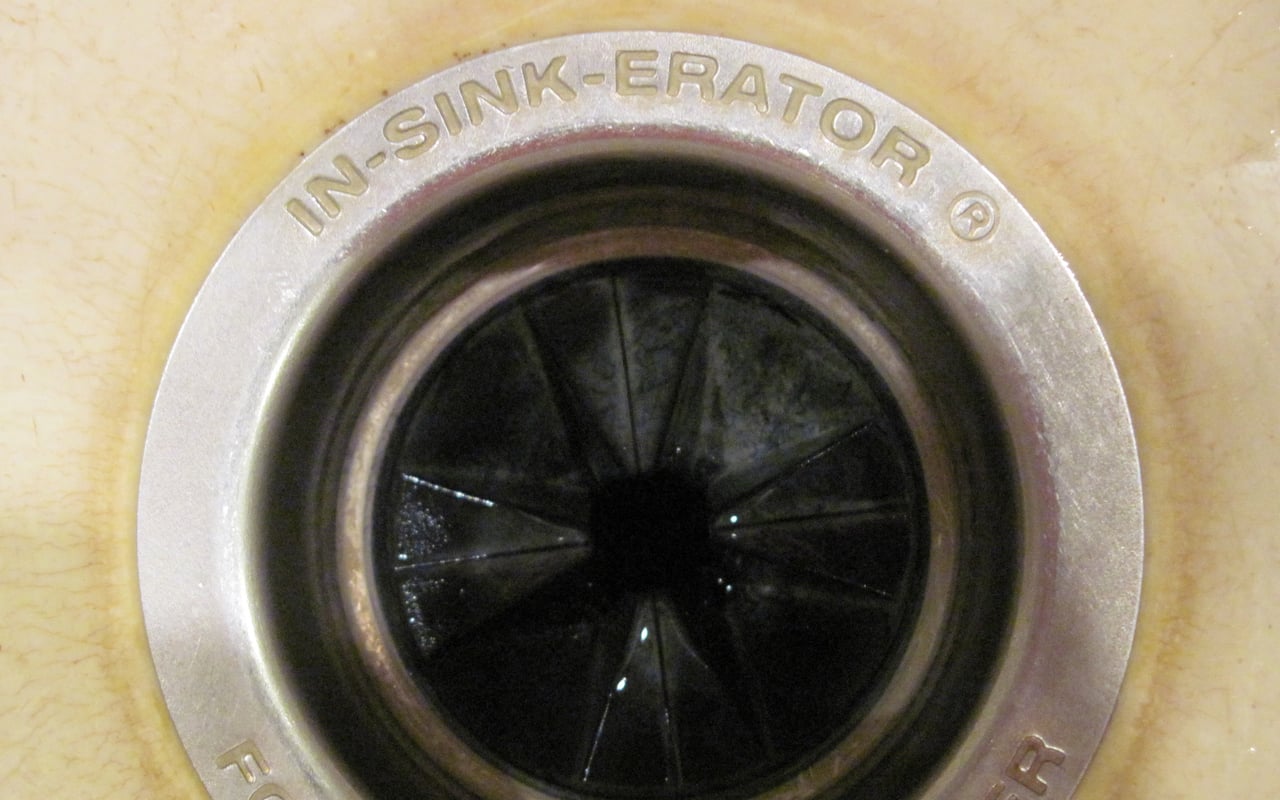
The Golden Rule: Keep Your Hands Out
Something’s stuck. You can see it through the rubber baffle. Your fingers are right there. Don’t reach in.
Use these instead:
- 1/4-inch hex key — fits into the hex socket at the bottom center of most disposals. Lets you manually rotate the flywheel to free a jam.
- Long-handled tongs or pliers — for pulling visible debris from the top.
- Flashlight — to look, not to reach.
- Shop vac — can sometimes suck out small debris from the drain opening.
The hex key trick fixes probably 60% of disposal calls by itself. If your unit hums but won’t spin, unplug it or flip the breaker. Stick the hex key into the center hole on the bottom. Rock it back and forth until the flywheel rotates freely. Remove the key. Hit the reset button. Test it with cold water running.
Problem 1: The Disposal Humms But Won’t Spin
The motor hums but the flywheel isn’t turning — something is physically jamming the grinding plate.
What you can safely check:
- Kill power at the breaker. Don’t rely on the wall switch alone.
- Use the hex key from the bottom to rotate the flywheel manually. If it frees up, you’ve cleared the jam.
- Shine a flashlight down the drain. Use tongs to pull out visible debris.
- Press the reset button on the bottom or side of the unit.
- Restore power and test with cold water.
When to call a pro: If the hex key won’t budge the flywheel, if it frees up but jams again immediately, or if the motor hums loudly but still won’t turn — the bearings or grinding plate may be damaged.
Problem 2: The Disposal Won’t Turn On At All
Dead silence. No hum, no click.
What you can safely check:
- Press the reset button. It’s a small button on the bottom or side that pops out when the motor overheats. Push until it clicks.
- Check the breaker panel. Reset any tripped breaker. If it trips again, stop — you’ve got a short somewhere.
- Test the wall switch. Listen for a click. If it feels loose or crackles, it may be worn out.
- Check under the sink. Some disposals plug into an outlet — make sure it hasn’t been kicked loose.
When to call a pro: If all of the above checks out but the unit is dead silent, the motor windings or internal wiring have failed. That’s a replacement.
Problem 3: The Disposal Is Leaking
Three common leak points. Here’s how to tell which one you’re dealing with.
Leak at the top (mounting to sink): Water seeping between the sink flange and the disposal body means the rubber gasket or mounting ring has failed. This is a call-a-plumber situation — re-seating the mounting assembly means dropping the whole unit.
Leak at the side (dishwasher connection): Many disposals have a knockout plug where the dishwasher drain attaches. If the clamp is loose, tighten it. If the plug cracked, you need a new inlet assembly or a new unit.
Leak at the bottom: Water dripping from the bottom center or any seam means internal seals have failed. These aren’t serviceable. The unit needs to be replaced.
What you can safely check: Wipe everything dry under the sink. Run the disposal with cold water and watch where the first drops appear. Tighten any loose hose clamps or slip nuts. If you can’t trace the leak to a simple loose connection, call a plumber.
Problem 4: The Disposal Smells Bad
That sour smell is food particles decomposing inside the grinding chamber. Rarely an emergency, but annoying.
What you can safely check:
- Run ice cubes and citrus. Drop a handful of ice cubes and a few lemon peels in with cold water running. The ice scours the chamber; citrus oils freshen it up.
- Clean the rubber baffle. That black splash guard at the top traps food residue. Wipe or scrub it with mild soap.
- Baking soda and vinegar. Half a cup of baking soda, then a cup of white vinegar. Let it fizz for 10 minutes. Flush with hot water.
What to avoid: Chemical drain cleaners (Drano, Liquid Plumber) damage the rubber seals and gaskets. Bleach corrodes internal components. Stick to mechanical and natural cleaning methods.
When to call a pro: If the smell persists after thorough cleaning and no leak is present, the odor may be coming from the drain line beyond the disposal. See our guide on kitchen sink clogs: what to try and what to avoid for next steps.
Problem 5: The Disposal Drains Slowly
Water backs up in the sink when the disposal runs, but eventually drains.
What’s happening: The drain line beyond the disposal is partially clogged with grease and food particles. The disposal isn’t the problem — the pipe after it is.
What you can safely check:
- Check which side backs up. With a double sink, plug one side and run water in the disposal side. If only that side backs up, the clog is in that branch. If both sides back up, it’s further down the line.
- Try a plunger. Fill the basin. Seal the plunger over the drain and give it several firm pushes. Go gently — too much force can damage the disposal mounting.
- Remove and clean the P-trap. Bucket underneath. Unscrew the slip nuts. Clean the sludge. Reassemble hand-tight.
When to call a pro: If plunging and trap cleaning don’t help, the clog is deeper. See slow drain or main sewer problem to figure out where it lives.
What NOT to Put in a Disposal
A disposal grinds soft food into small pieces — it’s not a trash can. These items kill them:
- Grease and cooking oil. They congeal downstream and trap everything else.
- Coffee grounds. They turn into dense sludge that clogs traps.
- Pasta, rice, and oatmeal. Swell with water and create paste.
- Large bones and fruit pits. Can chip or crack the grinding plate.
- Fibrous vegetables. Celery, corn husks, onion skins. The fibers wrap around the flywheel shaft.
- Non-food items. Metal, glass, plastic, paper.
Run cold water while the disposal is running and for 15-30 seconds after. Cold water keeps grease solid enough to chop and flush. Hot water melts grease, which re-solidifies a foot downstream.
When to Repair vs. Replace
Most disposals cost $100-$300. A plumber’s visit to diagnose can run $150-$250. The math often favors replacement.
Repair if: It’s a simple jam you clear with a hex key. The reset button tripped once. A hose clamp or slip nut is loose.
Replace if: The unit leaks from its body (top or bottom seals). The motor won’t turn even with the flywheel freed. The unit is over 10 years old. The grinding plate is damaged. The unit has been repaired before and is failing again within a year.
Upgrade if: You’re replacing a 1/3 HP model — a 3/4 HP unit jams less often. Your current unit is noisy — look for sound-sealed models. You want batch-feed (safer with kids) instead of continuous-feed.
For what to look for in a replacement quote, read how to read a plumbing estimate.
Related Reading
This article is part of our drains cluster. These related guides may help:
- Kitchen Sink Clogs: What to Try and What to Avoid — step-by-step clog troubleshooting.
- Why Your Sink Smells Like Sewer Gas — covers venting and trap problems.
- Slow Drain or Main Sewer Problem? — branch line vs. main line diagnosis.
- How to Read a Plumbing Estimate — before you call for quotes on replacement or repair.
FAQ
1. My disposal hums but nothing happens. Is it broken? Probably not. A humming disposal almost always means a jammed flywheel. Kill power, use a 1/4-inch hex key in the bottom-center socket to rotate the flywheel manually until it moves freely, press reset, and test with cold water. This clears the jam in about 90% of cases.
2. Can I use chemical drain cleaner in my garbage disposal? No. Drain cleaners like Drano damage the rubber seals, gaskets, and internal components. They also don’t fix jams. Stick to mechanical methods: hex key, plunger, or removing the P-trap.
3. Why does my disposal smell even after I clean it? If the smell persists after ice, citrus, and baking soda, the odor is likely coming from the drain line beyond the disposal. Remove and clean the P-trap. If the smell remains, check our kitchen sink clogs guide for deeper issues.
4. How long should a garbage disposal last? 8 to 12 years on average. Higher-end models with larger motors (3/4 HP or 1 HP) tend to last longer. If yours is over 10 and needs a repair, replacement is usually the smarter call.
5. Is it safe to put ice cubes and lemon peels down the disposal? Yes — that’s one of the best things you can do. Ice scours food residue from the grinding chamber. Citrus peels leave a fresh smell and release natural oils. Always run cold water while doing this.
6. Can a garbage disposal leak be repaired, or does the whole unit need replacing? It depends on the location. Leaks from loose hose clamps or slip nuts can be tightened. Leaks from the top (mounting gasket) or bottom (internal seal) of the disposal body mean the unit needs to be replaced — those seals aren’t serviceable on modern disposals.
7. My disposal won’t turn on but the reset button didn’t help. What else should I check? Check the circuit breaker and any GFCI outlet the unit may be plugged into. Test the wall switch. If power is confirmed and the reset button is pressed but the unit is dead silent, the internal motor has failed — time for a replacement.
Bottom Line
Most garbage disposal problems come down to a handful of causes: a jammed flywheel, a tripped reset button, a loose hose clamp, or food residue buildup. All of those are safe to check yourself with a hex key, a flashlight, and common sense about keeping your hands out.
When the problem is internal — motor failure, leaking body, seized bearings — stop troubleshooting and plan for a replacement. A new disposal costs $100-$300, and a plumber can swap one in under an hour on a standard setup.
The key is knowing which category your problem falls into. This guide gives you that checklist. Use it to decide whether to grab a hex key or the phone.